×

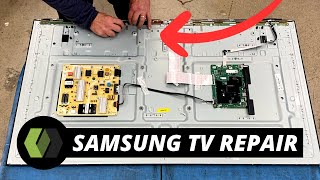
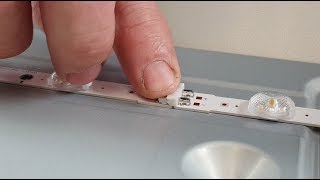
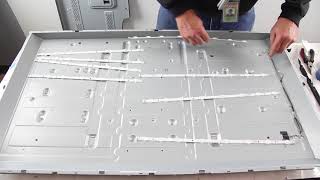
ShopJimmy's video: Samsung 65 LED TV - No Picture Bad Backlights - How To Replace LED Strips UN65 BN96 29076A 29077A

@Samsung 65” LED TV - No Picture Bad Backlights - How To Replace LED Strips UN65 BN96 29076A 29077A
Samsung 65” LED Backlight Repair CLICK HERE for TV Parts: http://www.shopjimmy.com/samsung-bn96-29076a-bn96-29077a-led-strips-12-strips.htm In this video we will show how to replace the LED strips in this Samsung TV. It is recommended to take pictures during the repair process to use as a reference point. Be sure your TV is unplugged. We have already removed the screws from the back cover. Remove the inner back cover. Before removing the outer cover completely, lift it a little bit and disconnect the cable on the main board, and the cable on the wifi module. Disconnect the ribbon cables from the scan drive boards. Remove the screws on the bottom of the TV that hold the bezel in place. Disconnect and remove the speakers so that they do not fall when the TV is flipped. Flip the TV over and remove the bezel. Release the scan drive boards from the tabs. Using tape, carefully flip up the scan drive boards and tape them to the panel. Using suction cups, remove the TV panel. Release and remove the four pieces of the panel frame. Tape all of the layers of diffusion on the corners to keep them together. Remove the layers of diffusion. Remove the clear plastic clips on top of the reflector sheet. Remove the reflector sheet. Using a small pliers remove the small rivets that hold the strips to the chassis. Our LED strips have tape over them, this is because this TV is a tester, so these strips have been removed before and we are just holding them in with some tape. It is recommended to use double sided tape on the back of the strips when you are replacing them, instead of tape on the top of them. Remove the LED strips from the chassis. Unplug the strips from the power supply cable and then they can also be disconnected from each other, by pushing down on the tabs to release them. The replacement strips should come with adhesive on the back of them to secure them to the chassis. If they do not, you can purchase double sided tape and attach it to each strip. Align the replacement strips and connect them to the power cable and to each other. Reinstall the reflector sheet. Reinstall the larger plastic clips. Reinstall the layers of diffusion and remove the tape. Reinstall the panel frame. Reinstall the panel. Release the scan drive boards and secure them into position on the clips. Reconnect the ribbon cables to the scan drive boards. Reinstall the bezel. Install the screws that secure the bezel to the chassis. Reinstall the back covers and reconnect the cables to the main board and to the wifi module. Reinstall the speakers and connect the cable. TV Repair Made Easy™ © 2017 ShopJimmy.com, LLC.

276

24
ShopJimmy
Subscribers
196K
Total Post
815
Total Views
1.7M
Avg. Views
21.3K
View Profile
This video was published on 2017-09-18 22:44:28 GMT by @ShopJimmy.com on Youtube. ShopJimmy has total 196K subscribers on Youtube and has a total of 815 video.This video has received 276 Likes which are higher than the average likes that ShopJimmy gets . @ShopJimmy.com receives an average views of 21.3K per video on Youtube.This video has received 24 comments which are higher than the average comments that ShopJimmy gets . Overall the views for this video was lower than the average for the profile.

Other post by @ShopJimmy.com